
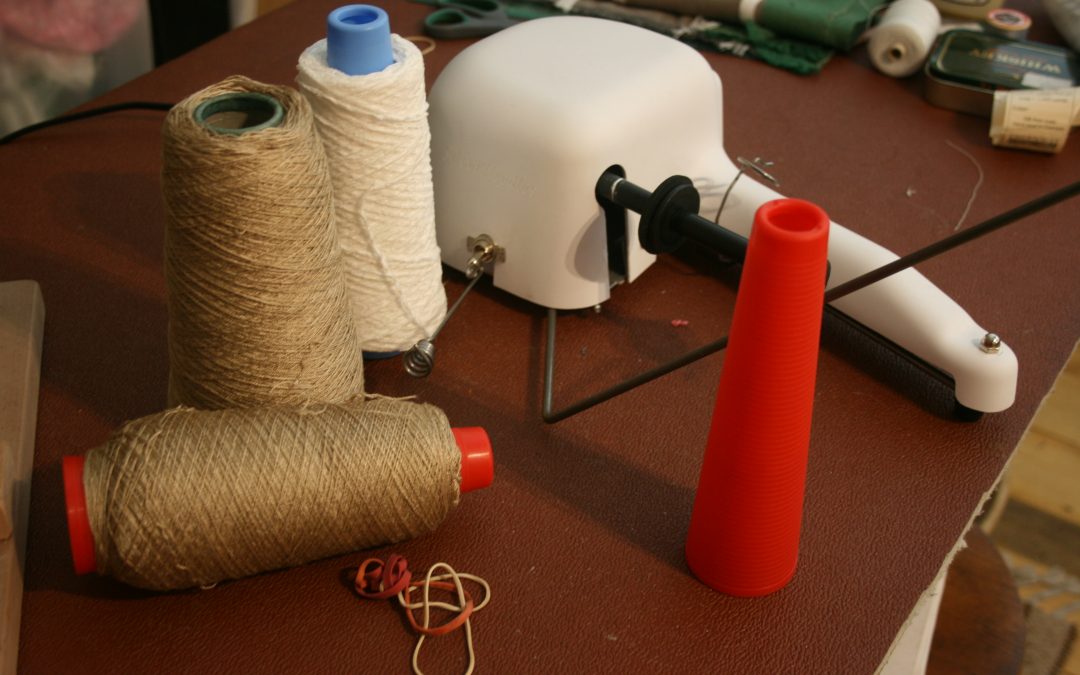
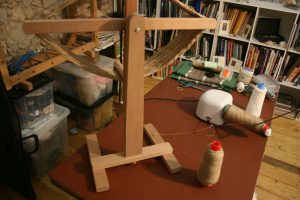
Over the past week, I have been intermittently working with a newly arrived piece of kit – the cone winder from Silver Needles. It is an amazing little machine, very sensitive, but very useful.
I knew that I would need to try several different yarns to test out the cone winder properly and started with a chenille yarn, winding it onto a cone I already owned which fitted the spindle perfectly. Perhaps starting with chenille was a little ambitious! I wound it on from a ball of yarn, taking the end from the middle.

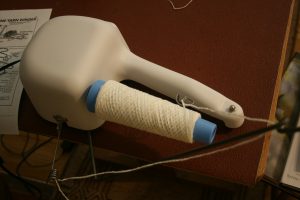
Chenille has a mind of its own and really enjoys tangling on itself so at times this was a test of my patience more than the abilities of the winder!! However, despite having to stop very often and untwist the excess twist of the chenille, the winder behaved beautifully and I have a lovely cone of yarn. It was a small ball and I only had the one ball, so it was just a test. Now I shall have to use the yarn in a project so I can release the cone for another session!!
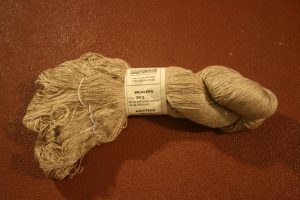
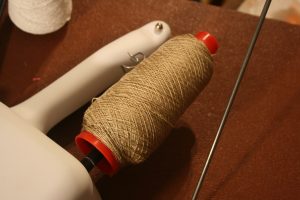
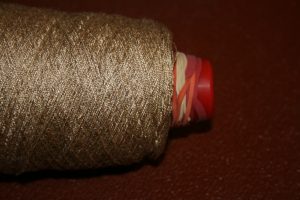
The second yarn was a 30/2 beautiful silk from Treenways as you can see above. It didn’t have any knots in it when I started but unfortunately, it has quite a few now, especially near the start of the winding! As with most new pieces of equipment, there is a learning curve and the user needs to learn to adjust to a new bit of kit and work out how best to use it and the anciliary equipment that it requires. Here’s what I found out.
There are certainly no problems with the action of the winder. It does a great job. But, the winder does as good a job as it can with the other pieces of equipment that you are using, and the user themselves!
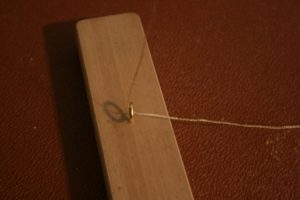
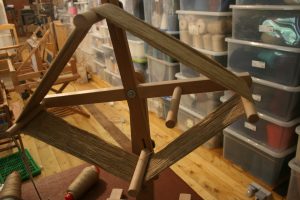
I was using an Ashford skein winder wheel which stands on its own two feet and runs freely if a little wobbly at times. However, the skein winder had too much inertia to feed the cone winder which, as I mentioned before, is very sensitive. Silver Needles have included a little gadget called a knot detector which slots onto the on-off switch.
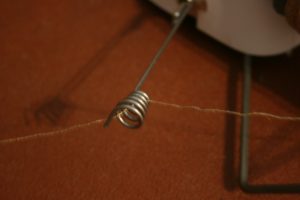 This is incredibly sensitive and prevents the motor from burning out by springing to the off position as soon as the yarn is under sudden tension. I tried all sorts of positions of the wheel until I found the optimum for the wheel and winder, and spun the wheel to reduce the inertia. In the end, I added a screw-eye to one of the feet of the wheel which helped to feed the yarn to the cone winder.
Another thing to consider is how much tension you put on the yarn you are winding, using twists around the shank of the long guide arm. I began with no tension twists on the yarn on the long guide arm of the cone winder. This was probably not the best idea with silk as the package was a little soft and probably led to the slight collapse at the base of the cone which you can see from the photos.
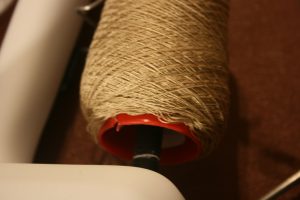
A good fit of the cone on the spindle is important or the base of the winding on your cone isn’t firm enough and starts to collapse downwards. I found that the cones supplied didn’t quite reach the marked line on the spindle despite pushing quite hard. I was concerned that I might damage the machine if I pushed too hard, so I have had to do some work-arounds to make it work effectively. Despite that, and the first attempt of winding needing constant stopping to adjust the cone, once I got the speed of the skein winder wheel virtually at the same speed as the cone winder, the number of stoppages for breakages reduced significantly and I managed quite a lot of well-wound yarn. The focus of the user needs to be on the speed of the feeding equipment so that the yarn is fed accurately and not with drag or too slack. Think of spinning and getting the speed of your feet to what you need to spin and feed the bobbin. It takes a little practice.
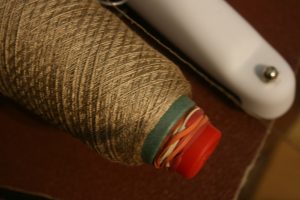
With the second skein of silk I decided to use another, larger, cone over the top of the issued one to see if I could get the cone to the right place on the spindle. At first it worked well, but as soon as I got more than a few revolutions, the larger cone came apart from the issued one. I got a little frustrated trying to work out how best to connect the two together, and tried many different solutions, eventually settled on putting rubber bands on the red cone so prevent the larger cone from coming off the top.
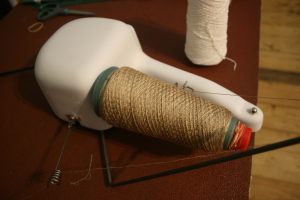
That worked. The winding itself went much better with one twist around the tension arm. I decided not to try changing anything else. I had to stop to entertain some visitors and when I started up again, I didn’t get the tension right and the yarn dug into the previously wound layers. Note to self – don’t wind the cone unless you know you are not going to be disturbed! The end package looks good and I am very pleased. I am looking forward to trying it out with other ancillary equipment and yarns. I will just have to find exactly the right-sized cones to fit.